
In the previous post we started talking about some composition rules and principles in photography. We covered the rule of thirds, the golden ratio and the golden spiral. Following them will give your photography more dynamic look and feeling.
The next principle that I’d like to talk about are the leading lines. When creating a photo you should include some lines in it (either straight or curved), which will lead the viewer’s eye “into” the image, all the way to the main subject. Those lines should ideally start from one of the corners of your image (I prefer the bottom left corner), and then make their way to the subject. You can use anything for the leading line – a road, a fence a rope, a plane exhaust gases trail, a river… anything that can fit into your frame.
Take a look at this photo of Zürich:
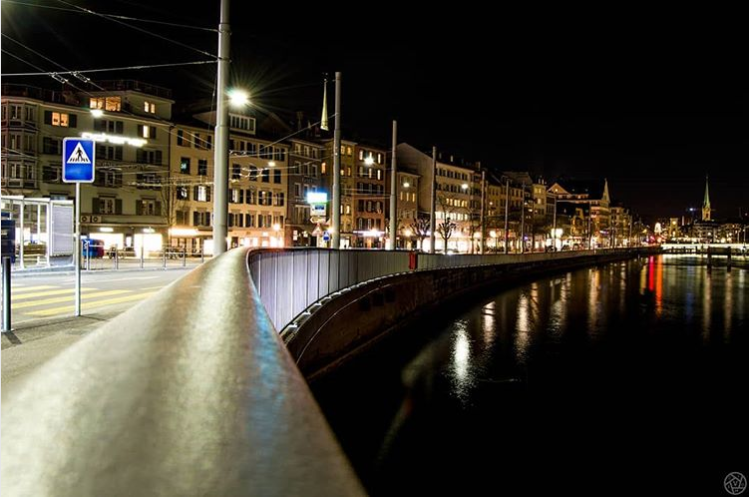
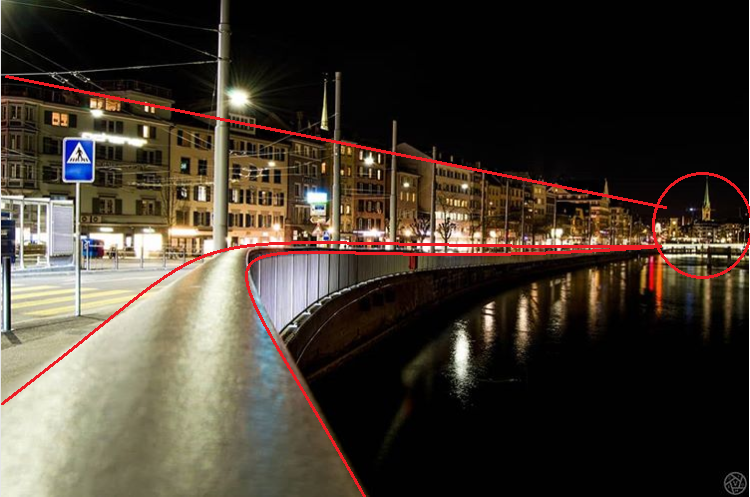
Do you see where I was trying to lead your eye? You will start from the bottom left corner, and go along the rail all the way down to the church tower and a nicely-lit bridge over the Limmat river. There is also an auxiliary line which is formed of the rooftops, and helps your eye go to the right and not wander to the not-so-interesting black sky.
Let’s take a look at another one. I wanted to take a photo of a rising sun, but also I tried to compose a photo so that there will be something in it which will lead you to the sun itself.
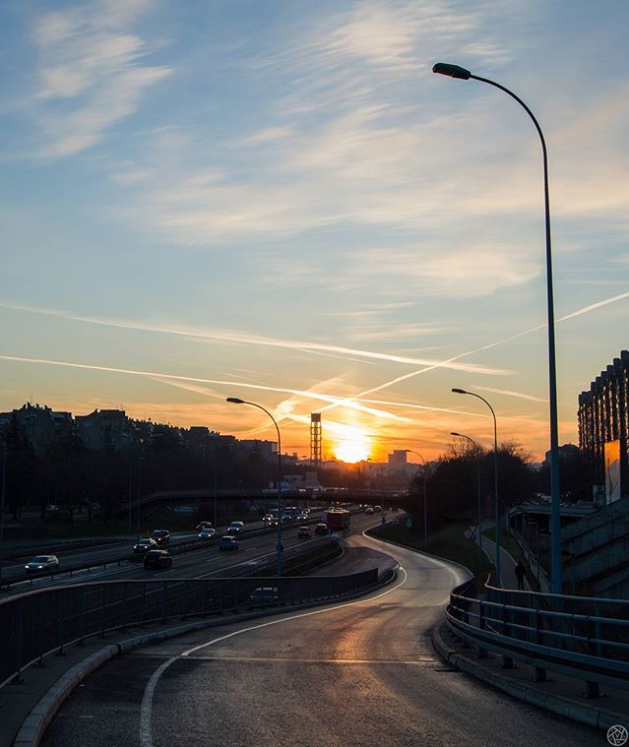
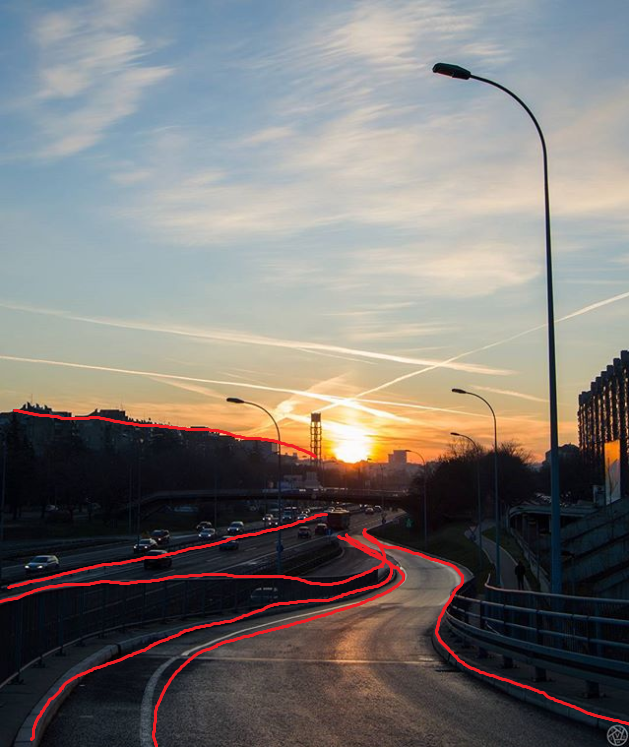
So there is a highway and a connecting road, which converge just a little bit under the place where the Sun is located. And also some rooftops from the upper side.
Did you already take some photos which follow this principle (either willingly or just by accident)? Leave your thoughts in the comments, share this post if you like it, and see you soon with another photography rule which is meant to be broken (at the end of this series). Bye bye 🙂
