
Here we are at the third part of our photography rules collection. Today we will talk about a couple of things. For the beginning, let’s talk about how and why you should fill the frame.
It’s all about… well, about filling the frame :). You want to zoom in as much as possible (either using the zoom capabilities of your lens or by walking closer to your subject), so that you don’t leave much (or any) empty space around it. Your whole frame should be filled by your main subject.
This rule is important when you are taking a photo of a single subject. Maybe it is a flower, or your pet, or a human portrait… The flower is small anyways so you don’t want much of its surroundings included, because it will only distract a viewer from the flower itself. The same is with your pet. Zoom in and make that cute dog really be the main star of the photo! When making portraits of people, especially if they have interesting face contours and details, it’s worth leaving everything else out of the frame and making that wrinkles or that scar or that beautiful eyes stand out, because after all that’s who your subject really is. Be careful though, and don’t crop your model too much. I will make another post about cropping so you could see how you should and how you shouldn’t crop a portrait.
But then again, you might have more than one subject. You might be photographing your plate with several kinds of food, or a basket full of different fruit, or maybe two people holding hands… It would again be better to zoom in and even to crop a little bit, so that only the food stays in the photo (or the fruit or the two hands).
Let’s take a look at an example. What do you think about this photo of a lion?

Ok, it’s an interesting lion, he has a nice “haircut”, looks curious, and he’s looking straight into the camera. Not bad. But there is much more in this photo, there is too much information which distracts a viewer’s attention. Those rocks at the bottom, then the ugly fence behind the lion, more rocks in the background, some grass, some concrete, then some flowers which are also a bit distracting. The lion is placed in the very center of the frame, like the rule of thirds doesn’t exist at all… Actually, I’ll be honest, this is a photo that I’ve published on Instagram a while ago and at that time I thought it was really great.
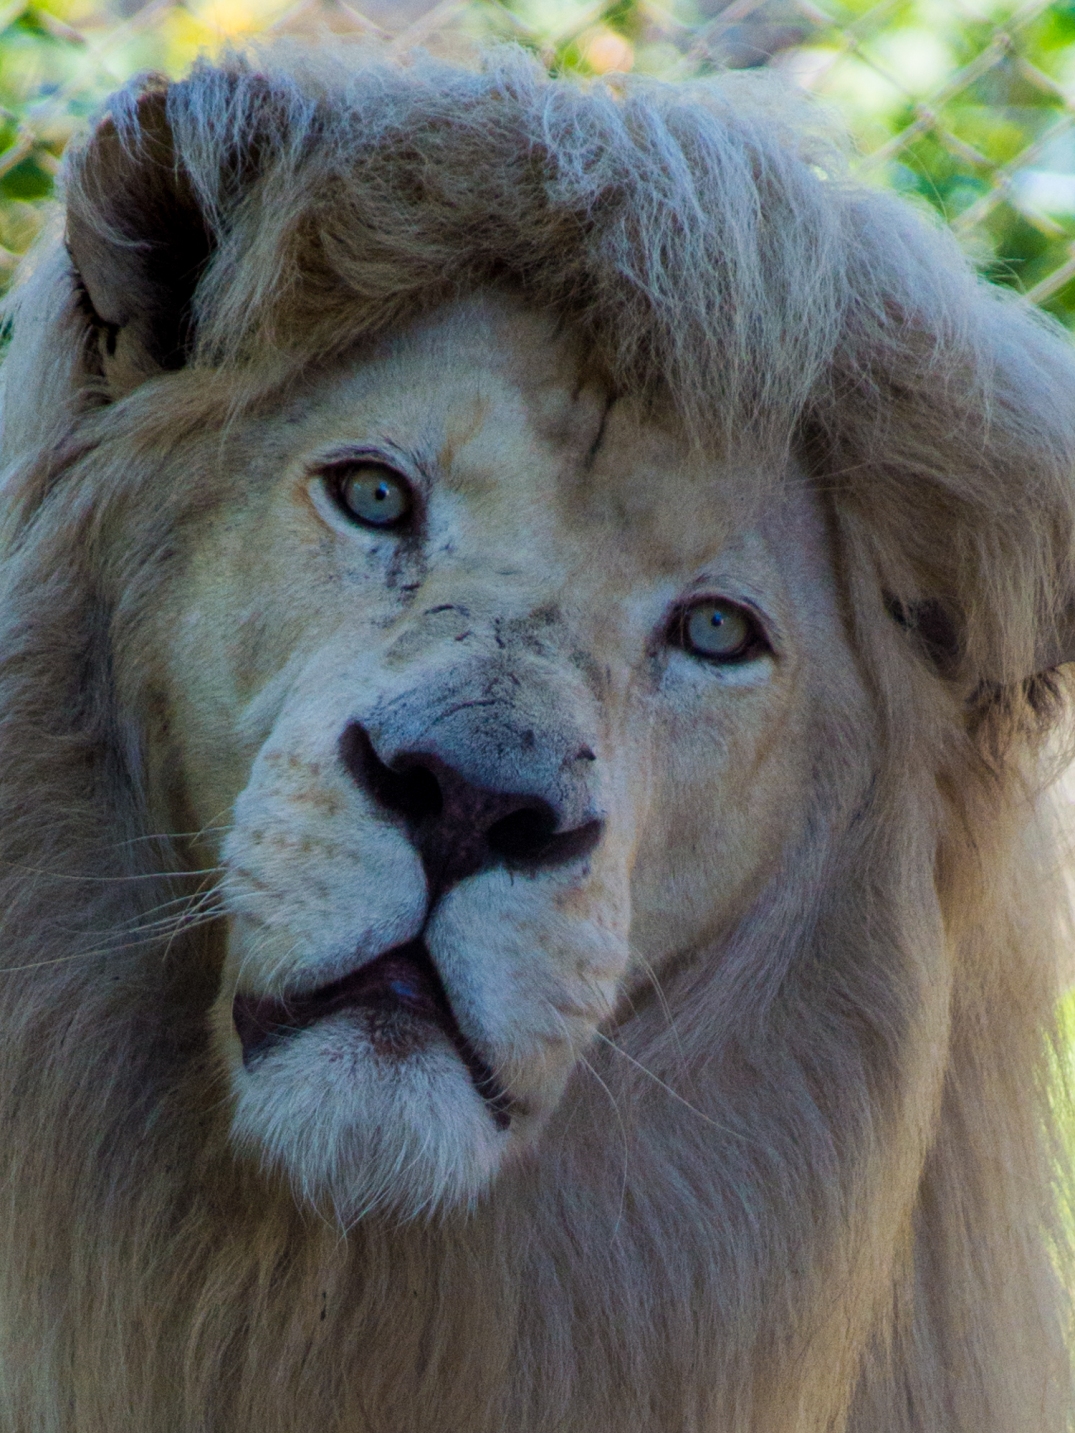
Now take a look at this one:

Looks better, right? I want my viewer to focus on the lion’s head, and I also included a bit of its magnificient mane. I placed its eye right in the intersection of the lines which split the image into the thirds. I removed all of the useless information from the background. No more fence (ok, a little bit in the top right corner, but maybe you didn’t even notice it), no more rocks, concrete walls, flowers… Only the portrait of this beautiful lion in all its glory.
The other rule I want to mention should be applied in cases when you don’t fill the whole frame. That rule says that your subject should face towards the center of the photo, and not outside of the photo. Let’s have a look at another photo of the same lion:
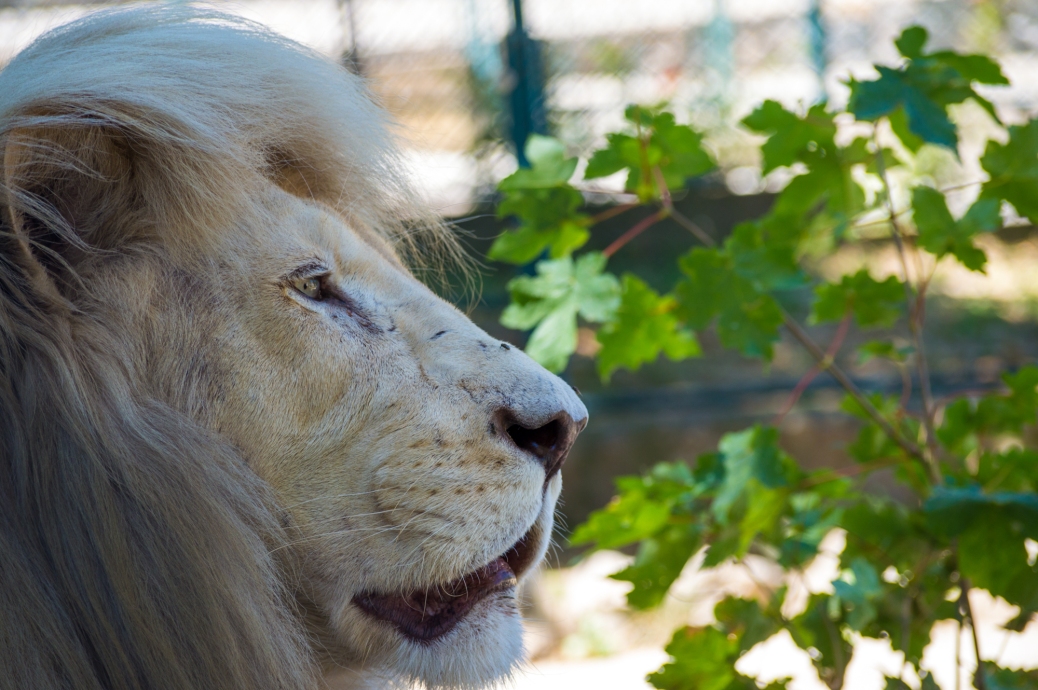
It seems logical, right? The lion is looking “into” the photo, everything is in harmony. Can you imagine if the camera was moved all the way to the left, with the lion’s head on the right side, looking outside of the photo? It would look weird, right? What is he looking at? Why is that not in the photo? Why is he trying to “escape” the frame? It’s just wrong!
To be honest, I was trying to find a single photo in my portfolio where the subject is facing outside the frame, but I couldn’t find it, because it just feels wrong to me to take that kind of photo 🙂
That would be it for today. In my opinion, after these few lessons you can already grab your camera, go out and start taking photos while trying to apply these rules. And don’t worry, this is not the end of the lessons, in a few days you will be able to read about some more rules. I just want you to start applying what you have read so far, because it’s the best way to learn.
Give me a comment – what do you think? Are you already using these rules in your photos? Share this text so your friends can also see it. And I’ll see you soon with new rules 🙂
