Just as a reminder, in previous posts you could read about rule of thirds, golden ratio and golden spiral, then about leading lines and finally about filling the frame and orientating your subject towards the center of the photo.
Today we will talk about making a frame inside a frame. “Wait, what?“, you ask. Well, it’s simple. There is one rectangular frame that you always have, and that frame is made of your photo’s borders. Often it would be a good idea to create another frame inside of it, which will contain your main subject(s). That “inner” frame could be made of whatever you find when taking a photo. You can use tree branches, bridge arcs, doors, windows, or anything else. You just need to position yourself so that your subject will be visible through that frame and you just point your camera and shoot through it.
I will share some of my photos, it’s always better to learn from practical examples 🙂

This is a silhouette of two girls talking to each other. This photo might be interesting, but… It looks somehow unfinished, I have a feeling that something else is out there, that I don’t know the whole story.
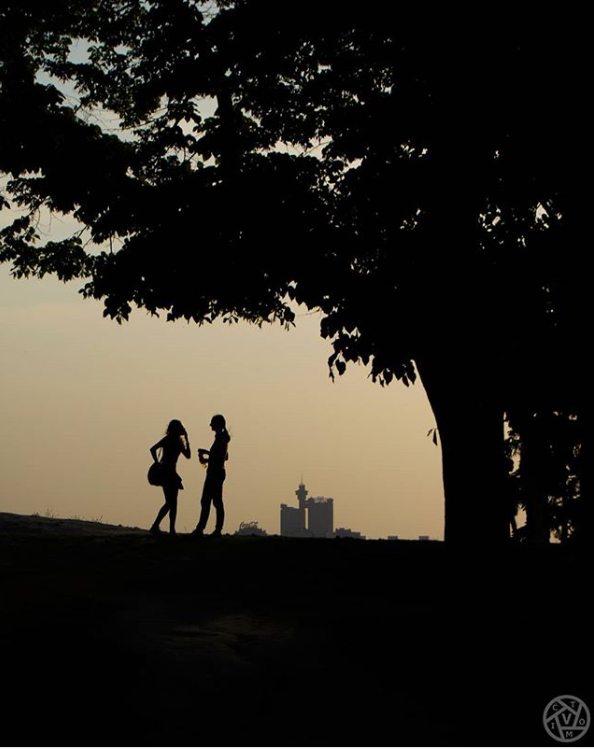
This already looks better to me. Now there is a border around the girls, and I know that they are the main focusing point of the photo, there is nothing else around which is more important. This was the final version of the photo, but when I look at it now I feel that there is too much black area, so I might just re-crop it:
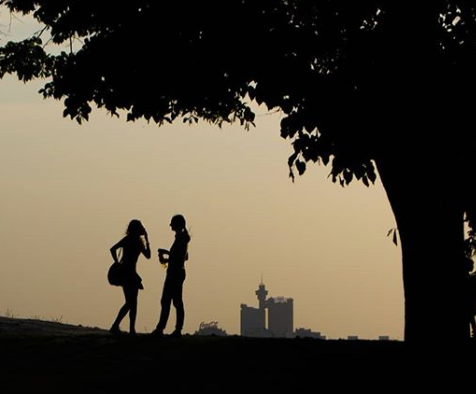
Now it looks perfect to me. The girls are placed using a rule of thirds. Maybe you can also imagine a golden spiral starting from the upper left corner, swirling around and ending up just at the place where the girls stand. And I still have a nice frame made of the ground and the tree. Of course, it is not mandatory that the frame has all four sides.
Let’s have a look at the next example:
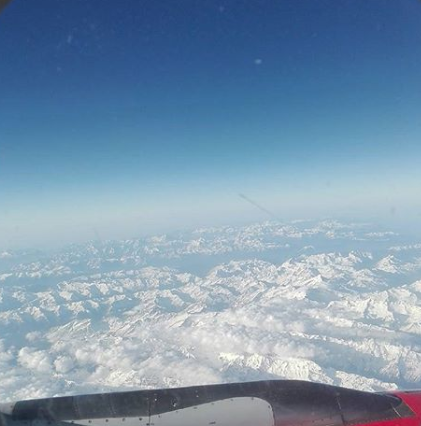
A photo of the Alps, taken through the window plane. Beautiful sight, it really is. There is also a part of the engine visible, so that the viewer knows that this was really taken from an airplane (wow, look at me, I was flying and I bragged about it on social networks!). The sky is ice and blue, while the white mountains make a nice contrast… But do you really like this photo?
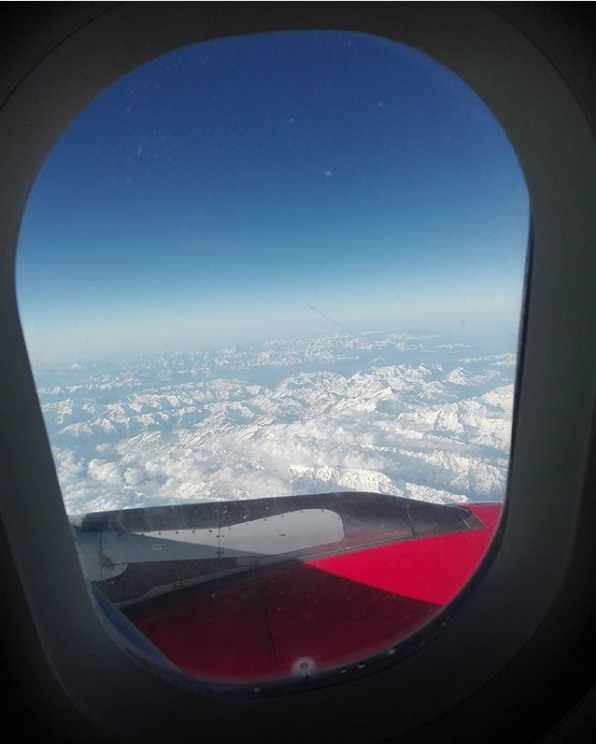
Much better, if you ask me. Not only that a viewer will now have the same perspective as I did when I took the shot, but the main scene will be somehow surrounded and will be one single entity. In the first version I wouldn’t know where to look – should I concentrate on the sky, on the mountains, on the engine…? Now I know that the whole scenery and all of its elements make a single image which should be enjoyed wholly.
The last one:
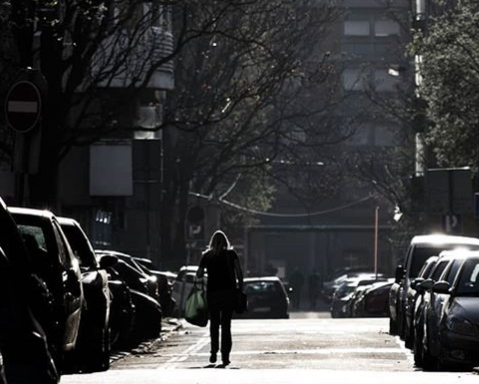
A woman is walking down a sunny street… well, ok. Good for her, right? But let’s take somewhat wider look:
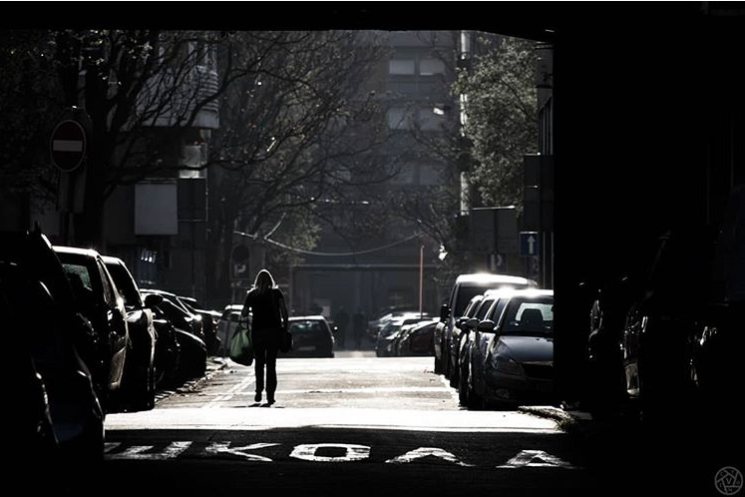
Now we have totally different story behind this image. We know that she has passed through a dark passage, we have a strong contrast. We can also see the label on the road, which says “SCHOOL” (in Serbian), so that also adds up to the all the different story possibilities that a viewer has. Besides that, we got the additional sense of depth, with some barely visible cars in the shadow, which form a nice leading lines together with the cars in the sun, and they are leading our eye to the distant point where this lady is headed. And some additional black border on the right side created a different composition so that the woman is right in the first third of the photo.
You know what’s next. You should take your camera, go outside (or stay inside if you have enough material for photography), and try to make some photos which will have a frame inside a frame. Come back after that and share your thoughts in the comment section.
See you soon 🙂
